
Last Updated on January 21, 2026
When it’s time to refresh your home with a new coat of paint, it’s tempting to jump straight into the fun part—adding that pop of color to your walls. But if you want professional, long-lasting results, there’s one critical step you absolutely cannot skip: primer. So, why use primer before painting?
Imagine primer as the foundation of a house—it’s not the most glamorous part, but it’s what makes everything else work. It smooths out imperfections, enhances color, and ensures your paint adheres beautifully to the surface. Whether you’re sprucing up a single room or tackling an entire home makeover, here’s why primer is the unspoken hero of every great paint job.

Primer: The Unsung Hero of Painting
Primer is more than just a preparatory step—it’s a game-changer. Skipping primer might save you time upfront, but it can lead to uneven results, peeling paint, and the need for costly touch-ups down the line. Here’s exactly what primer does to elevate your painting project:
1. It Creates a Smooth Surface
Walls aren’t always perfect. Cracks, holes, and rough patches can ruin the finish of your paint. Primer fills in these imperfections, creating a flawless canvas that prevents your paint from highlighting imperfections instead of hiding them.
2. It Enhances Paint Adhesion
Ever noticed paint peeling or chipping over time? That’s often due to poor adhesion. Primer acts as a bonding agent, helping the paint stick firmly to the surface, whether it’s drywall, wood, metal, or masonry.
3. It Makes Colors Pop
Primer serves as a neutral base, allowing your chosen color to appear vibrant and true to its intended shade. Without primer, your paint color could be dulled by the material underneath, especially on dark or porous surfaces.
4. It Boosts Durability
Painting is an investment, and primer helps protect it. By sealing your surface and preventing issues like cracking or fading, primer ensures your paint job lasts longer, saving you time and money on future touch-ups.
The Benefits of Using Primer Before Painting
If you’re still wondering why primer is such a big deal, let’s break it down further. Here’s how it helps:
- Fewer Coats of Paint Needed: Without primer, porous surfaces like drywall or wood soak up paint, leading to uneven coverage. Primer reduces the amount of paint you’ll need, saving you money.
- Protects Against Surface Damage: Beyond aesthetics, primer provides a protective barrier that shields surfaces from moisture, rust, and decay.
- Professional-Level Finish: If you want that smooth, polished look, primer is your secret weapon. It ensures your final coat looks even and flawless.

Choosing the Right Primer for Your Painting Project
Not all primers are created equal. The type of primer you choose depends on your surface and the challenges it presents. Here’s a quick guide to help you pick the perfect one:
- Drywall Primer: Ideal for new drywall, this primer seals the porous material and prevents uneven absorption of paint.
- Wood Primer: Bare wood can warp or decay without proper sealing. Wood primer protects it while creating a smooth base.
- Metal Primer: Prevent rust and ensure paint sticks beautifully to metal surfaces with a high-quality metal primer.
- Masonry Primer: Perfect for rough surfaces like brick or concrete, this primer smooths out irregularities and creates a stable base.
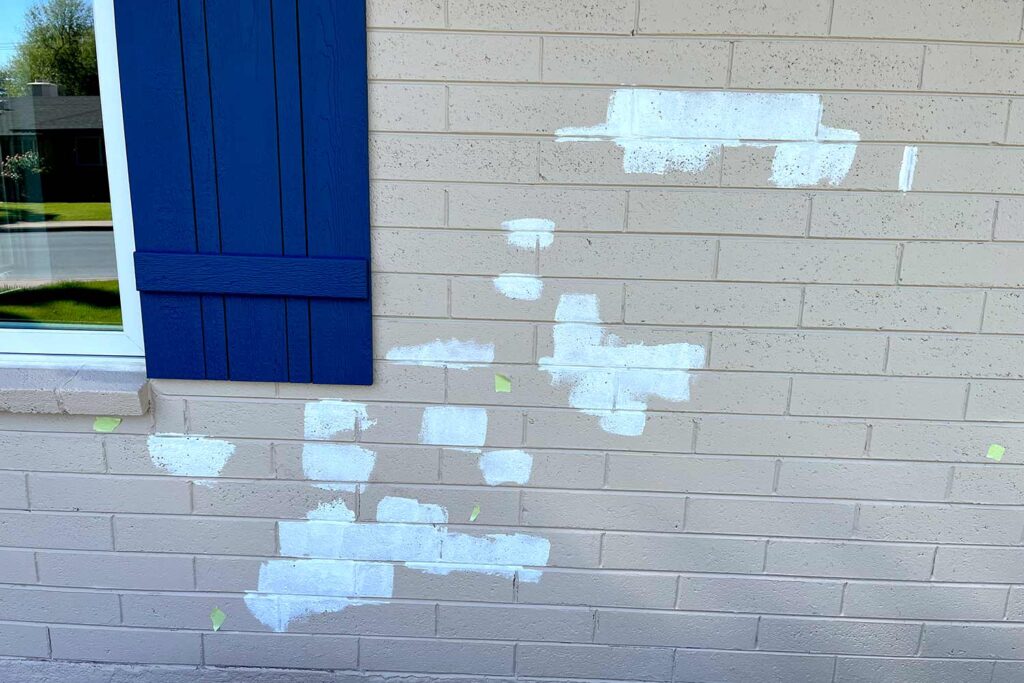
- Stain-Blocking Primer: Stubborn stains, dark walls or Sharpie scribbles? This primer ensures they won’t bleed through your fresh coat of paint. A good one to remember is shellac primer.
Pro Tip: Always check the label to ensure your primer is compatible with your surface and paint type (oil-based or water-based).

How to Apply Primer Like a Pro
Applying primer is straightforward, but a few key steps can make all the difference in achieving a professional finish:

- Clean Your Surface: Dust, grease, and dirt can ruin your paint job. Start with a clean surface for the primer to adhere to.
- Fill and Sand Imperfections: Use spackle to fill cracks or holes, then sand the area smooth for a seamless finish.
- Remove Peeling Paint: Scrape off any loose paint and sand the edges to avoid bumps.
- Use the Right Tools: Choose high-quality brushes or rollers for a smooth application.
- Apply Thin, Even Coats: Avoid thick layers of primer, which can lead to drips. Thin coats dry faster and perform better.
- Allow Sufficient Drying Time: Patience is key! Let the primer dry completely before applying your topcoat.

Common Mistakes to Avoid
Even seasoned DIY-ers can make errors when using primer. Steer clear of these common pitfalls:
- Skipping Surface Prep: A clean, smooth surface is critical for primer to work its magic.
- Using the Wrong Primer: Not all primers are suitable for every surface. Choose the right one for your project.
- Applying Too Much Primer: Thick coats can cause uneven drying and drips.
- Rushing the Drying Process: Always let primer dry fully before painting to avoid issues with adhesion.

Why Using Primer is Worth the Extra Step
Primer isn’t just an extra chore—it’s the backbone of a successful paint job. By taking the time to apply primer, you ensure your walls look stunning, your colors stay vibrant, and your paint lasts for years without peeling or fading. It’s a small step with a big payoff.
Conclusion: The Secret to Painting Like a Pro
So, why use primer before painting? Because it’s the ultimate game-changer. It smooths surfaces, enhances color, protects against damage, and ensures your paint job stands the test of time. If you’re ready to transform your space, don’t skip this crucial step. Grab that primer, prep your walls, and get ready to create a masterpiece that will make you proud every time you walk into the room.